Wednesday, June 13, 2012

Why in the heck would you cover that up?

So several weeks ago while checking out yard sales we came across this wonderful desk.  The only problem was that it had this awful brown paint on it.  So we decided it would be a good project for getting some nice furniture in the new house.  As we looked at some of the drawers we learned that this desk was built at sometime near the turn of the 19th century.  Makes this project a little more interesting knowing there is a good amount of history behind it.
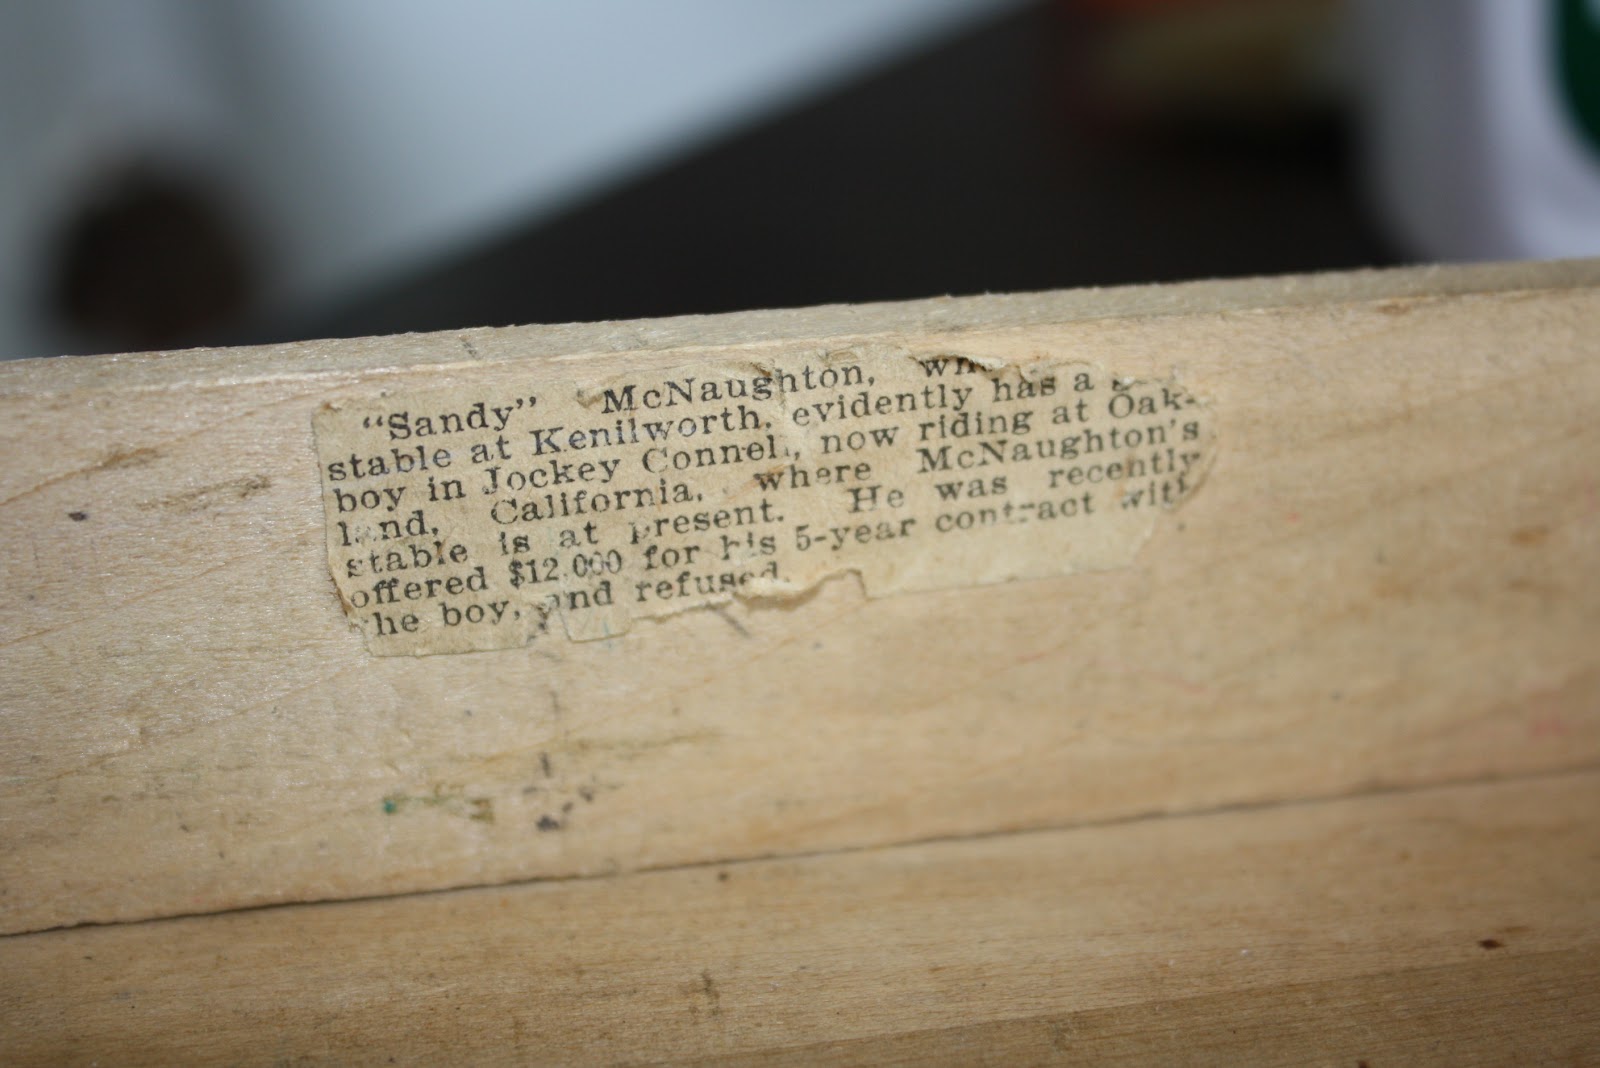
 A story that we found on the back of a drawer.
 Some signatures of what looks like the original owners of this desk.


So this past weekend we decided we would finally start this project and we headed to Lowes to pick up some supplies.
Zoomed: Motsenbocker's Lift Off 64 Oz. Paint & Varnish Remover Water-Based Stripper 
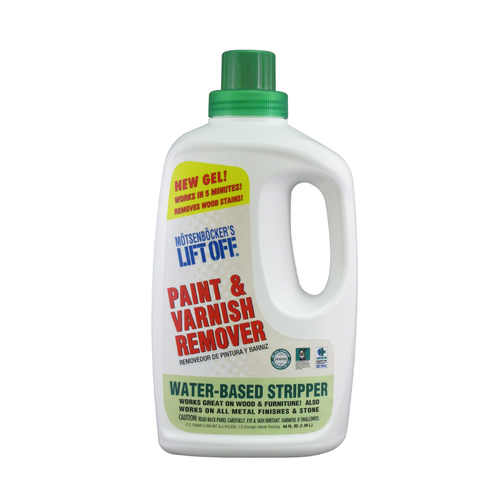
The main tool we needed was some paint stripper.  We choice this one for its short dwell time and water base.
Zoomed: 3M Medium Refinishing Gloves 
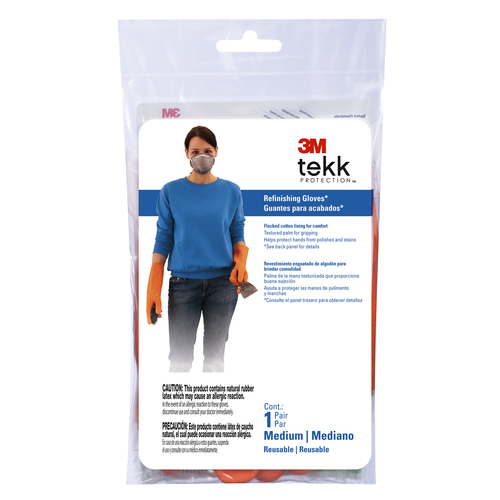
Gloves are also important.  The paint remover is really nasty stuff
Zoomed: Purdy 5-in-1 Scraping Tool 
This tool was invaluable for getting the paint remnants removed.

So with most of Saturday ahead of us we decided to start with a small piece of the top to see how much work we had in front of us.


 As you can see it was going to take more than 1 round of the paint stripper.  In the end most surfaces required 3-4 applications.  The first layer to come off was the brown, followed by black/red and after that a green layer.  Once the paint was off there was still a layer of varnish.  While it took several rounds of paint stripper we really liked that there was no excess residue cause by the water based paint stripper.  This was really nice because after the last layer was removed the wood was really clean.

 A couple of the drawers after being stripped of paint.  You can really see the birds eye maple which is beautiful.  The one on the bottom is still wet.

The most difficult part was working with the intricate details on the front of the desk.  The paint remover wasn't doing so well with these sections, mostly because we didn't have a tool to remove the paint out of the corners, so we decided to try using a different paint remover. 

 
Paint remover number two

This remover worked really well at removing multiple layers of paint but was much more difficult to remove the residue.  The other thing was that the Peel Away required 3-24 hrs of dwell time.  So we applied it before the end of the night and left it for the next day.  Its possible that if we had used denatured alcohol, like the instructions recommended, the residue would have been easier to remove.  We'll never know I guess.

 A couple of progress shots.

Next Steps:  We plan to sand with coarse and fine grain sand paper, and then we'll stain it.


Lots of Updates

A lot of exciting developments this week.  The project manager and his crew must be really working hard.  Enjoy the photos.
 The porch has finally been poured.  Finally a place for me to sit.
 Looks like the insulation is going up well.


 A few shots of the drywall going up.


We had a little bit of water in our washing room, PM said that if it ends up being a problem we may need to replace the OSB.  Other than that everything is going great.

Thursday, June 7, 2012

Second Floors Done


Stopped back at the house a few days later and the second floor was up.  It finally looks like a house.  At this point there is a lot of commotion as the sub contractors put in the plumbing, electrical, and ducts.  I also had the opportunity to let the electrician know where we wanted the extra outlets to be installed.  We opted for the side of the garage near the front, and in the back on the morning room.  Not too long and the drywall will go up.

 
The front of the house.  Good thing its taller than me.


Another view of the front of the house.
 

All the plumbing and duct work for the stack-able washer and set tub.

A nice picture of the shower all set up.
Pod lights over the shower which come standard.

The two cold air returns.  One is in the kitchen and the other is in the hallway on the second floor.  With central cold air returns the doors are not flush with the floor but have a gap.  This allows for proper circulation and cuts down on the amount of duct work.

If you look closely you can see the wire for the outdoor flood light.  It is right next to the second floor window.  You can also see the vent for the fan in the half bath on the first floor.

A good view of the patio door from the outside.  Right next to it we have one outlet and also the vent for the clothes dryer.

Our finished Egress window, and also the mainline electrical box.

A view from the basement of the egress window.  As you can see it lets in a lot of light which is great.

 Our 200W electrical box.  What they have installed is called a 30/40 box.  It comes standard with 30 circuit boxes but the bottom 10 can be split to make 40 circuit boxes.


We've Been Framed!!

The framing when up on the house on 5/21/2012.  The first floor went up and we were able to take a look around.

The Amish crew are hard at work getting the first floor set. 

 Nice view from the lot across the back yard.  Just weeds for now.

 Nice view of the basement stairs.

View of where the fireplace goes.  Hope it'll be toasty this winter.

Here's the garage from the kitchen.  Not the biggest, but big enough.

The much anticipated pantry.  Time to start buying groceries.

View out the patio door from the morning room.

Hopefully the second floor will be open soon :).